
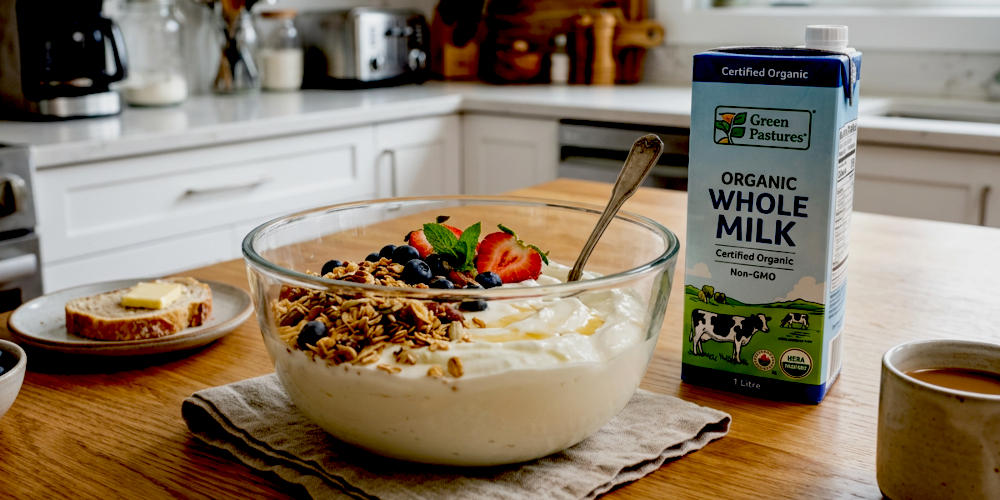
Making yogurt at home is simple, cost-effective, and rewarding. Here is a simple guide to making yogurt in your oven.
You can make creamy homemade yogurt easily with just two basic ingredients, milk and plain yogurt with live active cultures. Yogurt is produced by the fermentation of milk by specific friendly bacteria. These bacteria consume the natural milk sugar (lactose) and produce lactic acid, which causes the milk proteins to thicken and gel, giving yogurt its characteristic texture and tangy flavor.
What You’ll Need in the Process of Yogurt Making?
Milk – Any kind of milk works, whole milk (for the creamiest result), 2%, skim, or even non-dairy milks. Avoid ultra-pasteurized (UHT) milk if possible, as it can sometimes resist thickening. If you desire a thicker yogurt you can use dry milk powder.
Starter Yogurt – A small amount of plain, active-culture yogurt. Look for “live & active cultures” on the label. You can also use a bit from your previous homemade batch. For your first time, a high-quality store-bought plain yogurt (like Greek or regular) or plain probiotic yogurt works perfectly.
Equipment – A heavy-bottomed pot (to prevent scorching), thermometer (instant-read or candy thermometer is ideal, but not strictly mandatory), containers for incubating (clean jars, glass containers), a warm place for incubation (for example heat controlled kitchen oven)
Step-by-Step Yogurt Making Instructions
Before these steps you have to preheat your kitchen oven to the required temperature for yogurt making. Since most standard kitchen ovens cannot be set as low as 45°C (113°F), you can easily reach and hold this temperature using the oven light trick or briefly preheating and turning the oven off. Some modern kitchen ovens have a dough proofing, defrost, or keep warm symbol (often marked as 40°C or 45°C). If your oven has this setting, you can simply dial it directly to 40–45°C and leave it on.
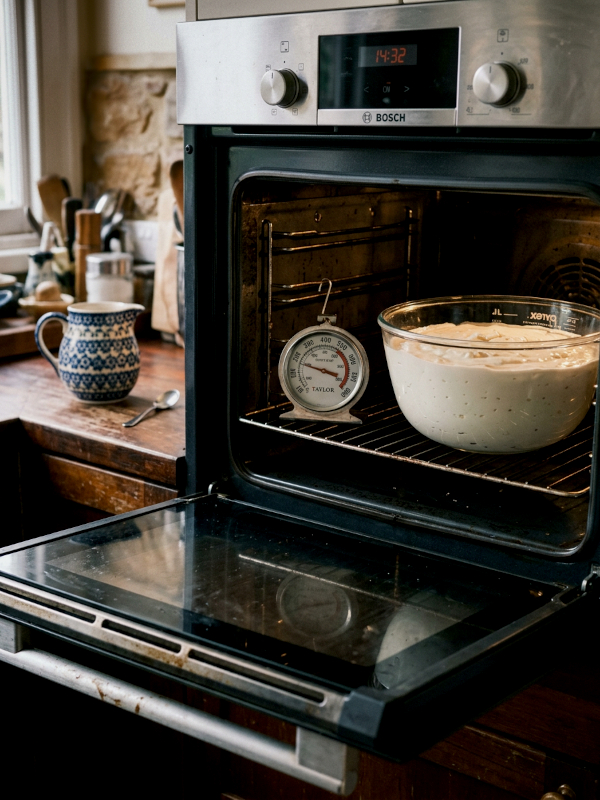
An incandescent oven bulb generates just enough gentle, steady heat to keep a closed oven around 40–45°C (104–113°F) for hours. Switch on the interior oven light and keep the oven door closed for 30 to 45 minutes before putting your inoculated milk inside. Place an oven thermometer inside or feel the air, it should feel comfortably warm, not hot. If it feels too hot, leave the door open for a minute to let excess heat escape before putting your yogurt in, as temperatures above 48°C (118°F) can kill the yogurt cultures.
Step 1 – Heat the Milk
Pour your milk into the pot. For a thicker yogurt, you can optionally add ¼ to ½ cup of dry milk powder per liter/quart of milk at this stage. Heat the milk over medium heat, stirring occasionally, until it reaches 180°F (82°C). This denatures the milk proteins, resulting in a thicker final yogurt and eliminates unwanted bacteria. If you don’t have a thermometer, heat until the milk is steaming and foamy with small bubbles forming around the edges, but not boiling.
Step 2 – Cool the Milk
Remove the pot from heat and let the milk cool down to 110°F (43°C). This is the ideal temperature for the yogurt cultures. If the temperature too high (>120°F/49°C) the heat will kill the cultures. If the temperature too low (<100°F/38°C) the low temperature will inhibit yogurt culture growth. You can speed cooling up by placing the pot in a sink of cold water, stirring the milk gently.
Step 3 – Inoculate with Starter
Take about ½ cup of the warm milk and whisk it in a small bowl with your starter yogurt (2-3 tablespoons per liter/quart of milk). This whisking tempers the yogurt and prevents lumps. Whisk this mixture back into the large pot of warm milk, stir the milk gently but thoroughly.
Step 4 – Incubate (The Magic Step)
Now, you must keep the inoculated milk at a steady 105-110°F (40-43°C) for 6-12 hours. Place milk containers inside the preheated kitchen oven. Keep the oven light on (or if exists put the “warm” control on) for the entire 6 to 8-hour incubation period. If necessary, put a sticky note saying “don’t touch the controls” over the oven so nobody accidentally turns the oven off or opens the oven’s lid.
Step 5 – Chill and Set
After incubation, the yogurt will be warm and may look a bit wobbly or thin. Place the containers directly in the refrigerator for at least 4-6 hours. This stops the culturing process and allows the yogurt to fully set and thicken. Bon Appetite!
Key Tips for Successful Yogurt Making
Sterility is Key – Ensure all equipment (pot, whisk, containers, thermometer) is very clean to avoid introducing bad bacteria.
Consistent Temperature – The incubation temperature is the most critical factor. An oven thermometer is your best friend.
Save Your Starter – Reserve ½ cup of your homemade yogurt to start your next batch. You can do this for 4-5 batches before the cultures weaken, then use a fresh store-bought starter.
Troubleshooting for Yogurt Making
Runny Yogurt – Incubated in a spot that was too cool, or for too short a time. Next time, incubate longer/warmer. You can always strain it to thicken after.
Grainy Texture – Milk was heated too quickly or scorched. Use lower heat next time. A grainy texture can also be fixed by blending the finished yogurt until smooth.
Too Sour – Incubated for too long. Reduce incubation time next batch.
Whey Separated on Top – This is normal! Just stir it back in. It’s a sign of active cultures.
1 Comment